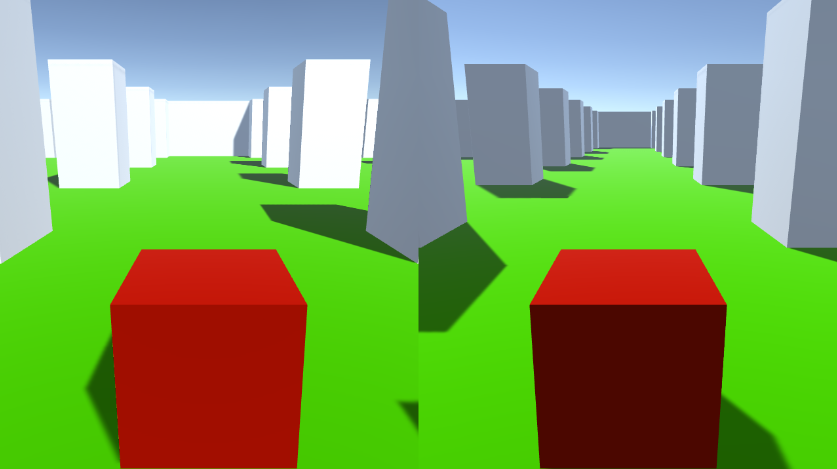
Tutorial multijogador com tela dividida no mesmo PC para Unity
Neste tutorial, mostrarei como fazer um multiplayer de tela dividida em Unity.
Passos
- Abra uma Cena com o seu nível (no meu caso será uma Cena simples com alguns Cubos)
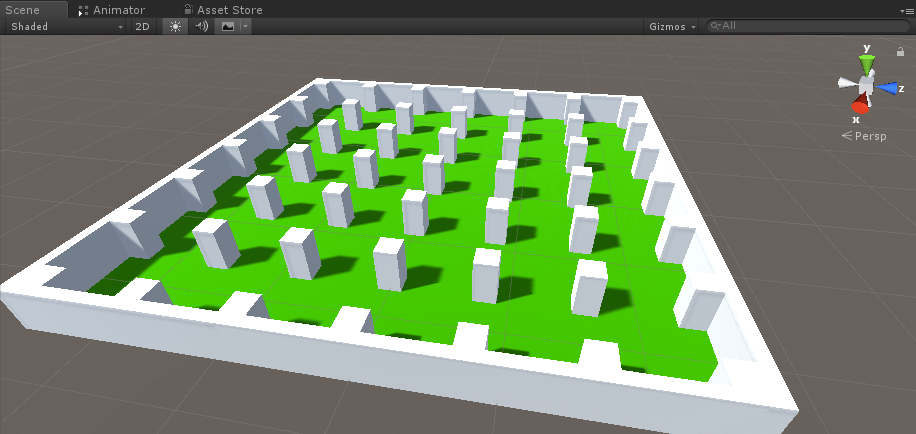
- Crie um novo GameObject e chame-o "Player 1"
- Crie um novo cubo e mova-o dentro do objeto "Player 1" (remova seu componente Box Collider)
- Crie mais alguns cubos para os olhos e a boca (remova também os componentes do Box Collider)
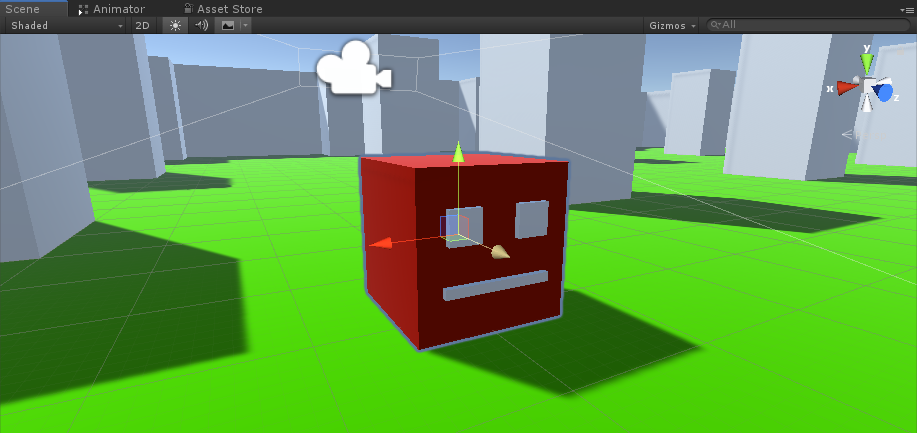
- Mova a câmera principal dentro do objeto "Player 1" e aponte-a para um cubo

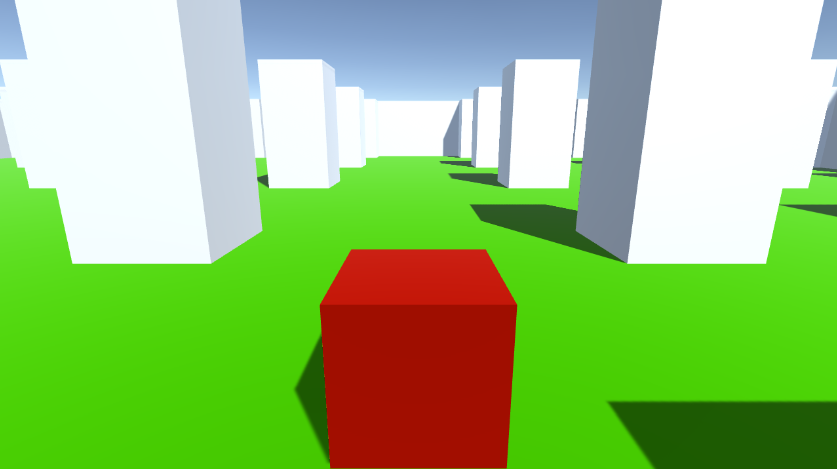
- Crie um novo Script, nomeie-o "RigidbodyPlayerController" e cole o código abaixo dentro dele:
RigidbodyPlayerController.cs
using UnityEngine;
using System.Collections;

[RequireComponent(typeof(Rigidbody))]
[RequireComponent(typeof(CapsuleCollider))]

public class RigidbodyPlayerController : MonoBehaviour
{

    public enum PlayerControls { WASD, Arrows }
    public PlayerControls playerControls = PlayerControls.WASD;
    public float movementSpeed = 3f;
    public float rotationSpeed = 5f;

    Rigidbody r;
    float gravity = 10.0f;

    void Awake()
    {
        r = GetComponent<Rigidbody>();
        r.freezeRotation = true;
        r.useGravity = false;
    }

    // Update is called once per frame
    void FixedUpdate()
    {
        // Move Front/Back
        Vector3 targetVelocity = Vector3.zero;
        if ((playerControls == PlayerControls.WASD && Input.GetKey(KeyCode.W)) || (playerControls == PlayerControls.Arrows && Input.GetKey(KeyCode.UpArrow)))
        {
            targetVelocity.z = 1;
        }
        else if ((playerControls == PlayerControls.WASD && Input.GetKey(KeyCode.S)) || (playerControls == PlayerControls.Arrows && Input.GetKey(KeyCode.DownArrow)))
        {
            targetVelocity.z = -1;
        }
        targetVelocity = transform.TransformDirection(targetVelocity);
        targetVelocity *= movementSpeed;

        // Apply a force that attempts to reach our target velocity
        Vector3 velocity = r.velocity;
        Vector3 velocityChange = (targetVelocity - velocity);
        float maxVelocityChange = 10.0f;
        velocityChange.x = Mathf.Clamp(velocityChange.x, -maxVelocityChange, maxVelocityChange);
        velocityChange.z = Mathf.Clamp(velocityChange.z, -maxVelocityChange, maxVelocityChange);
        velocityChange.y = 0;
        r.AddForce(velocityChange, ForceMode.VelocityChange);

        // We apply gravity manually for more tuning control
        r.AddForce(new Vector3(0, -gravity * r.mass, 0));


        // Rotate Left/Right
        if ((playerControls == PlayerControls.WASD && Input.GetKey(KeyCode.A)) || (playerControls == PlayerControls.Arrows && Input.GetKey(KeyCode.LeftArrow)))
        {
            transform.Rotate(new Vector3(0, -14, 0) * Time.deltaTime * rotationSpeed, Space.Self);
        }
        else if ((playerControls == PlayerControls.WASD && Input.GetKey(KeyCode.D)) || (playerControls == PlayerControls.Arrows && Input.GetKey(KeyCode.RightArrow)))
        {
            transform.Rotate(new Vector3(0, 14, 0) * Time.deltaTime * rotationSpeed, Space.Self);
        }
    }
}- Anexe o script RigidbodyPlayerController a "Player 1" (você notará que ele adicionará mais 2 componentes, Rigidbody e Capsule Collider)
- Ajuste o Capsule Collider até que corresponda às dimensões do Cubo.
Abaixo estão as etapas para criar uma tela dividida para 2 jogadores:
- Duplique o objeto "Player 1" e renomeie-o para "Player 2".
- Em RigidbodyPlayerController altere os controles do player para "Arrows".

- Altere os valores de Viewport Rect da câmera "Player 1" para X: 0 Y: 0,5 W: 1H: 0,5
![]()
- Altere os valores de Viewport Rect da câmera "Player 2" para X: 0 Y: 0 W: 1H: 0,5
![]()
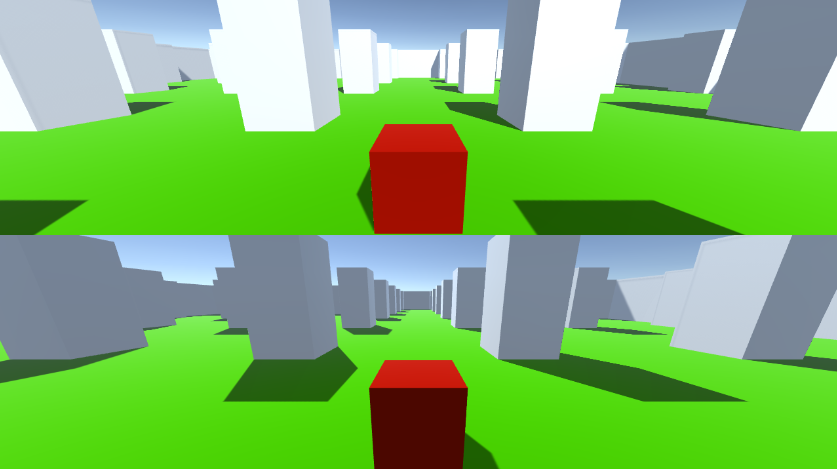
Alternativamente, você pode configurar uma tela dividida vertical definindo os valores abaixo:
X: 0 Y: 0 W: 0,5 H: 1 para a câmera 1
X: 0,5 Y: 0 W: 0,5 H: 1 para a câmera 2
